Zapier Integration
Didn't find what you needed from our native integrations? By linking your Zapier account, you can forward Tether feedback to any application in Zapier's ecosystem. It also allows you to completely customize how your feedback data is presented in the target integration.
Linking Your Zapier Account
Prerequisites
Make sure you have a Zapier account.
Linking Instructions
{info.fa-info-circle} While most of our integrations are associated with a specific project, Zapier works differently as it's associated with your entire team. As such, you will find Zapier integration settings under your team settings page, rather than project settings (although you will find a link to team settings from project settings for your convenience).
-
Visit your team's settings page.
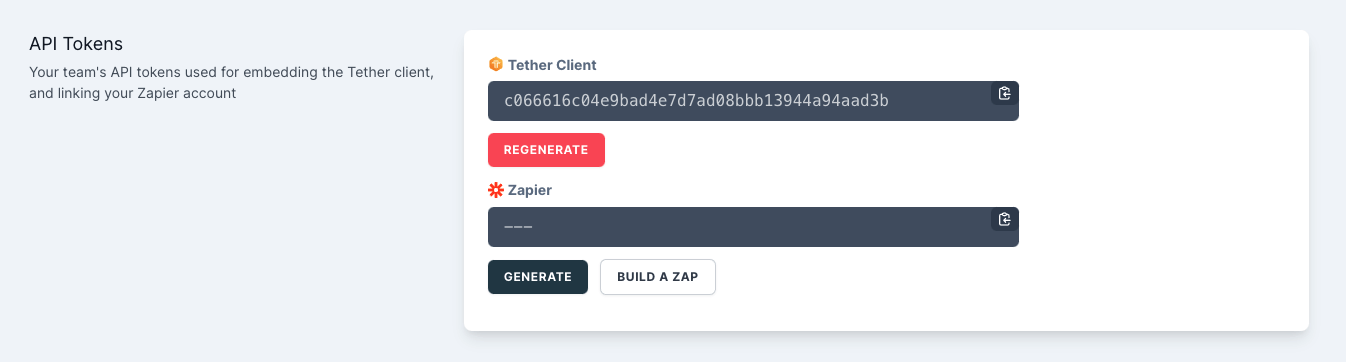
{alert.fa-exclamation-circle} Make sure you copy your API Key right away and store it somewhere secure as your key will be hidden next time you load the page. You'll need to Regenerate your key in order to make it temporarily visible again.
-
In the "API Tokens" section, under the Zapier header, click the "Generate" button, then click inside the snippet to copy the key to your clipboard (If you've already done this step in the past, the field will already be populated and the button will say "Regenerate" instead). Store it in a safe place as you will need it shortly.
-
Click the "Build a Zap" button to be redirected to Zapier (Note: You won't be able to select Tether as a Zap trigger unless you've clicked this button first. This is a constraint that will be lifted very soon, but is necessary for the time being).

-
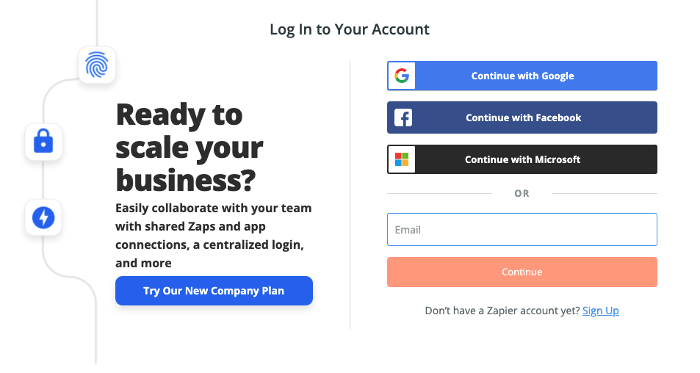
Login to your Zapier account when prompted (Skip this step if you're already logged in).
-
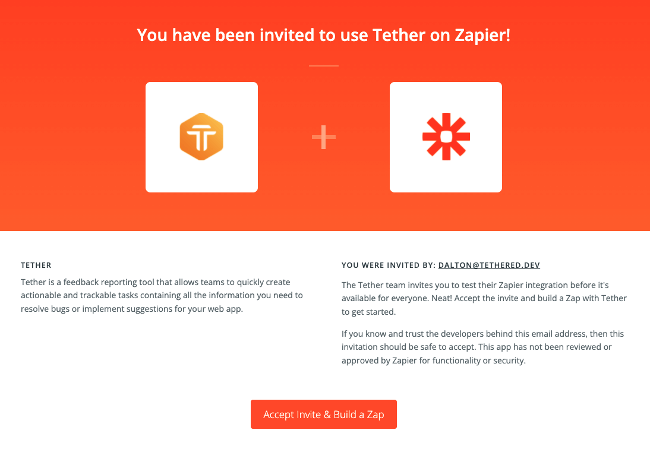
Click the "Accept Invite & Build a Zap" button
-
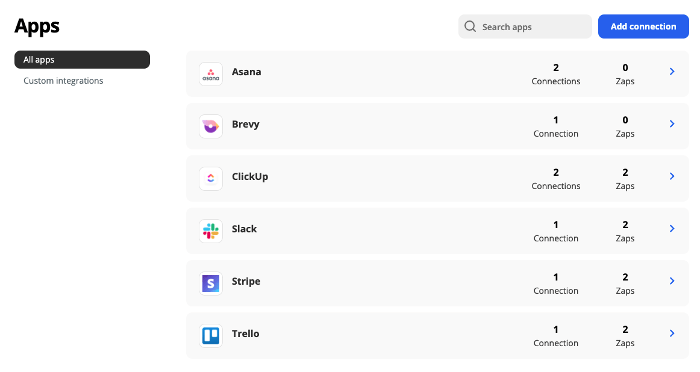
Now that you have access to Tether's Zapier app, it's time to add a connection using your API key. Click "My Apps" in the sidebar.
-
Click "Add Connection"
-
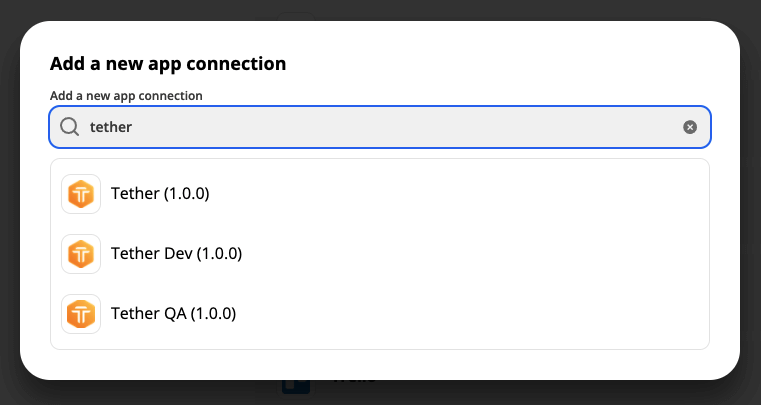
Search for "Tether" and select it (Recognizable by our hexagonal logo)
-
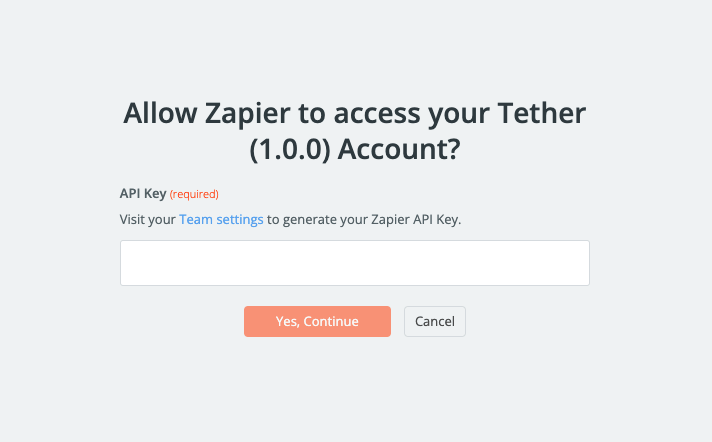
A popup will appear asking for your API Key. This is where the key we generated earlier comes in. Copy it from your secure storage or Tether team settings and paste it into the field provided. Click "Yes, Continue".
-
Congrats! You've linked your Zapier account to Tether. But you're not quite done yet 😿. Continue to the next section to create your first Tether-powered Zap!
Creating a Zap
Thanks for sticking with us! Things are about to get really cool :sunglasses:. So far, we've generated an API Key and used it to link your Zapier account with Tether. Now we're going to use that connection to create a Zap triggered by Tether's "Feedback Received" event.
-
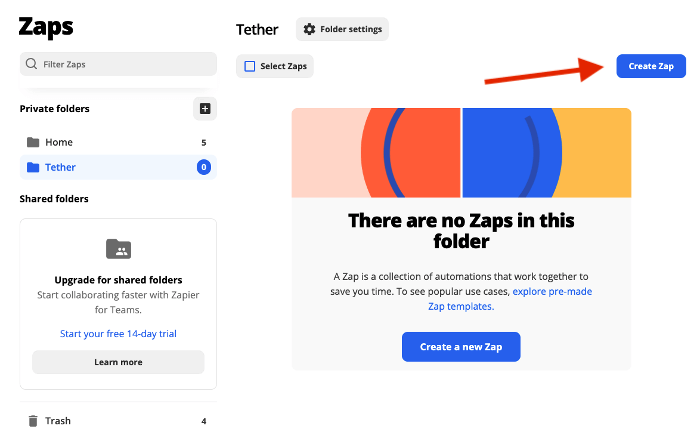
Go to the "Zaps" page
-
Click "Create Zap"
-
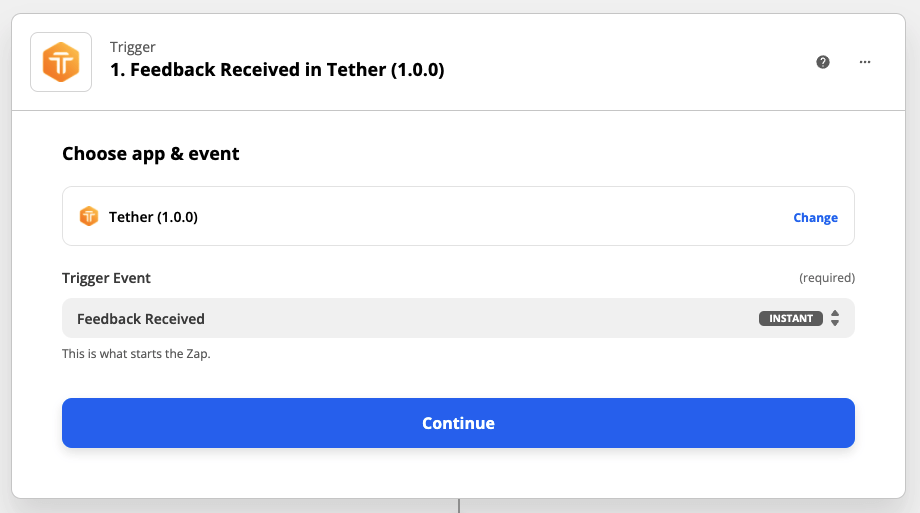
In the trigger search bar, enter "Tether" and select the app we set up earlier.
-
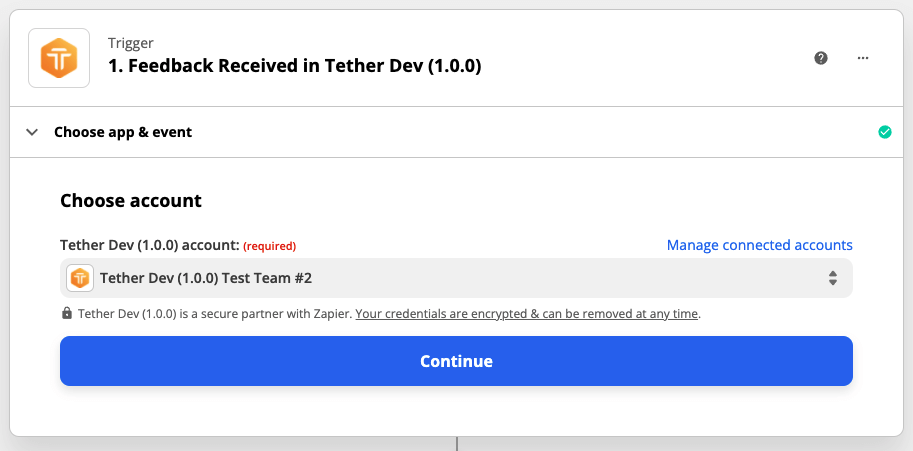
Under the "Trigger Event" dropdown, choose "Feedback Received". Then, click "Continue".
-
Under the "Choose account" dropdown, select the connection we made earlier (It should include the name of the team the connection was linked with). Then, click "Continue".
-
Under the "Project ID" dropdown, select the project(s) you want to trigger the Zap. Then, click "Continue".

-
Click the "Test Trigger" button (Note: This test requires at least one of the selected projects to contain feedback. If you don't have any feedback yet, submit some real quick so we can be sure your trigger is working).

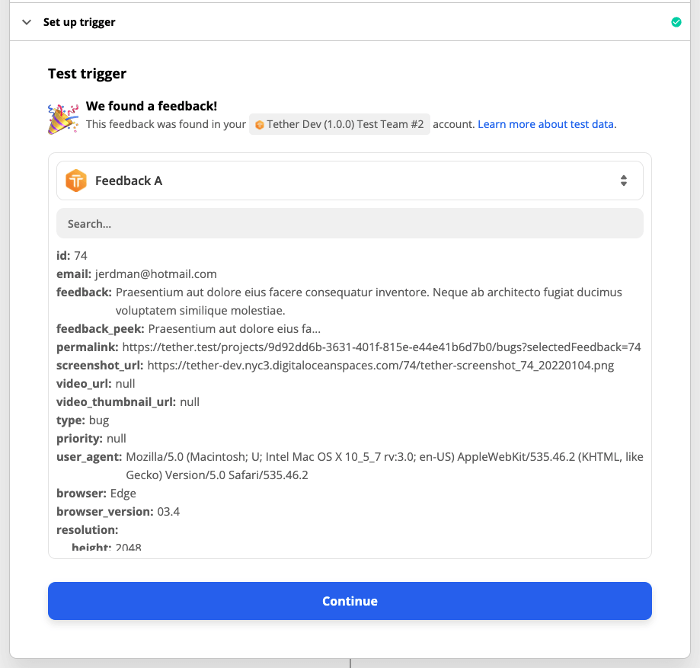
{success.fa-check-circle} With the trigger ready to go, we'll move on to setting up the action that happens in response to Tether's "Feedback Received" event. For this example, we'll be using ClickUp as the target application. Setting up any other Zapier app will be much the same, but with slightly different fields for Tether data to be mapped to. Take a look through our how-to articles for instructions regarding other Zapier apps.
-
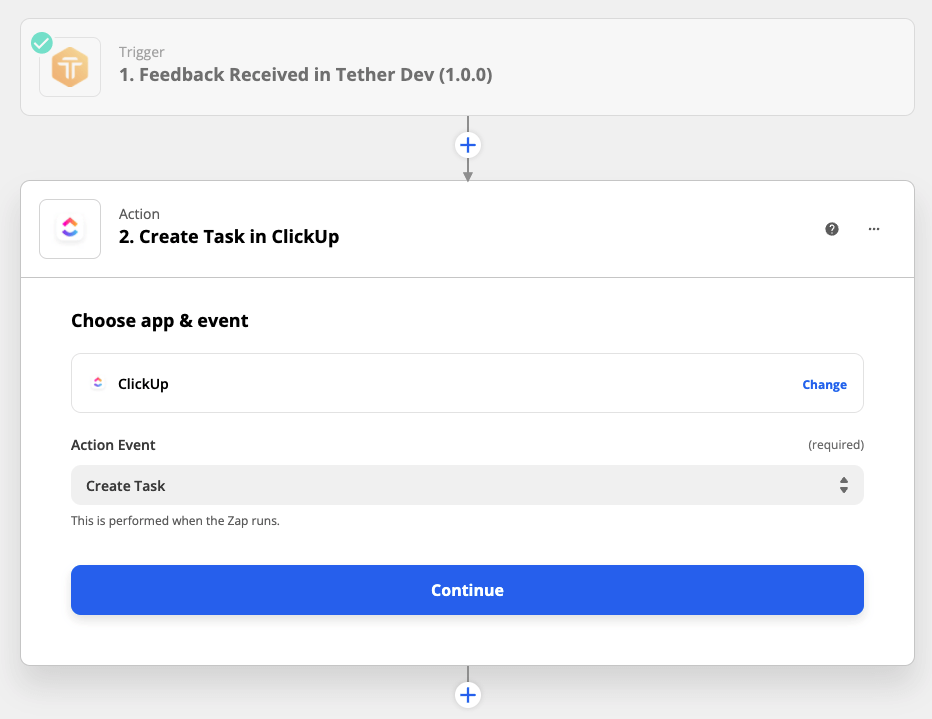
In the action search bar, type "ClickUp" and select the ClickUp app
-
Under the "Choose Event" dropdown, select "Create Task". Then, click "Continue".
-
Under "Choose account", click "Sign in to ClickUp" and sign in when prompted. (If you already have your account linked with Zapier, it will be listed in a dropdown).
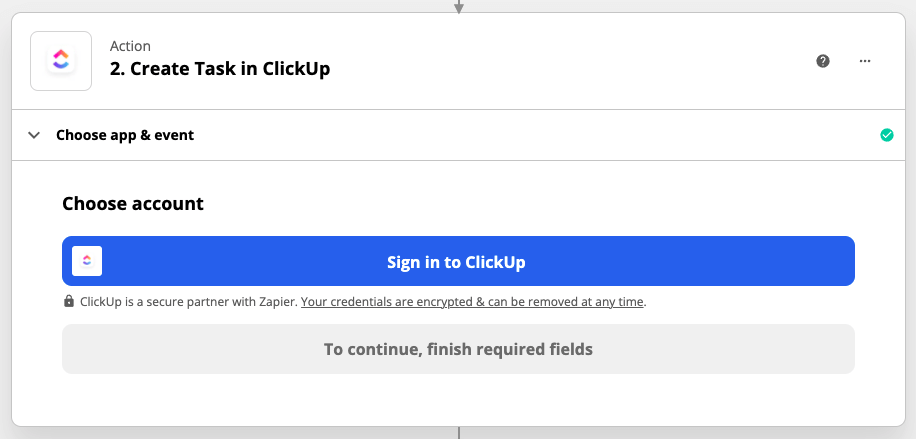
-
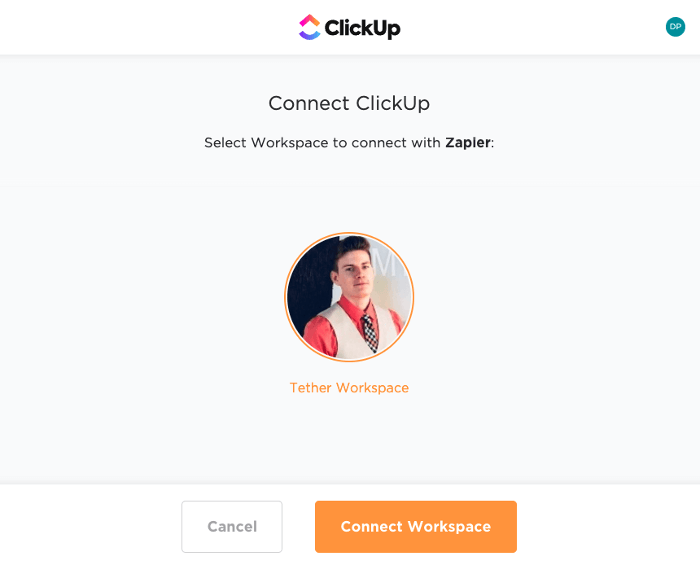
Next click "Connect Workspace" when prompted for permission. Then, click "Continue".
{info.fa-info-circle} This next step is where most of the configuration for this Zap will take place. We're going to be mapping data describing your feedback to the fields available in the ClickUp API. That may sound a bit complicated, but Zapier makes it really easy for us. We'll be following a very simple mapping pattern for this example, but feel free to customize it however you like.
-
Under the "Workspace" dropdown, select the ClickUp workspace you want your new tasks to be created in. Do the same with the "Space", "Folder", and "List" fields as they appear.

{info.fa-info-circle} When you click on any fields, you'll notice an "Insert Data" popup appears with a list of labels and example values (The examples values are extracted from the test you performed earlier). These are the fields Tether provides to define your feedback. Any time this Zap is triggered by your project receiving new feedback, the properties you've mapped out here will be inserted into a new ClickUp task. Click "Show all options" in the popup to browse what properties are available for you to work with. If there's additional properties you're dying to have, let us know.

-
For the "Task Name" field, we're going to use a
{Type} received from {Submitter Email}format. Click inside the "Task Name" field, and start by selecting the "type" property from the dropdown. Then, type " received from " and select the "Submitter Email" property from the dropdown. -
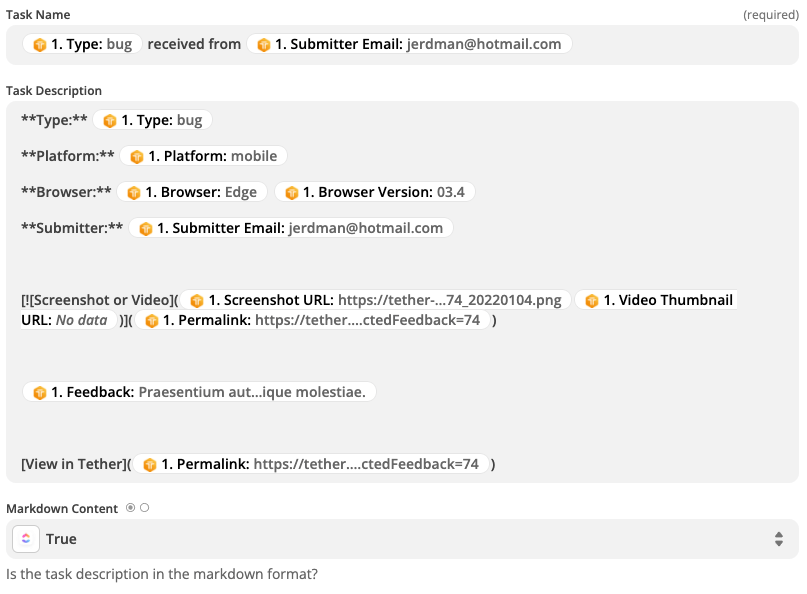
The "Task Description" field is where we will put the majority of feedback properties in this example as well as the back-link to Tether where the full details can be found. To keep things simple, we'll just list out some of the most important information, so we can understand our new feedback at a glance. We'll use the following format:
Type: {Type}
Platform: {Platform}
Browser: {Browser} {Browser Version}
Submitter: {Submitter Email}

{Screenshot URL}{Video URL}

{Feedback}

View in Tether: {Permalink}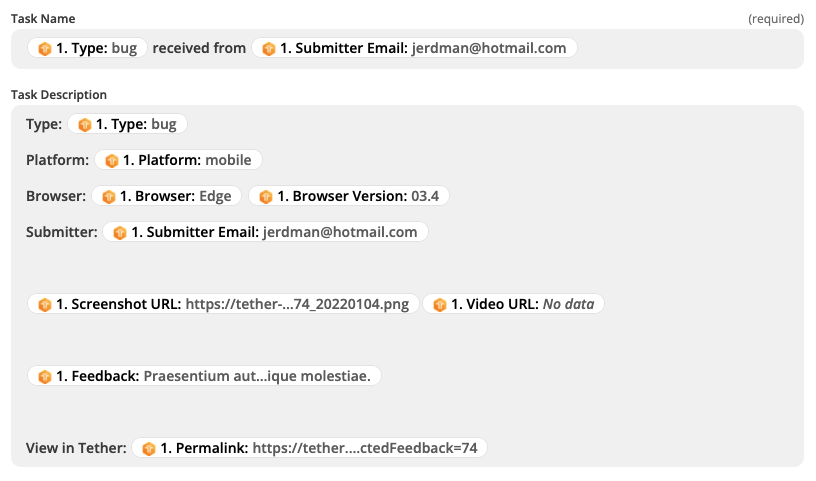
{info.fa-info-circle} Some Zapier apps, like ClickUp, allow you to use Markdown syntax to create clickable hyperlinks or style your text. But be sure to set the "Markdown Content" option to "true" if you want to use this feature.
-
Once your happy with your Zap action settings, click "Continue".
-
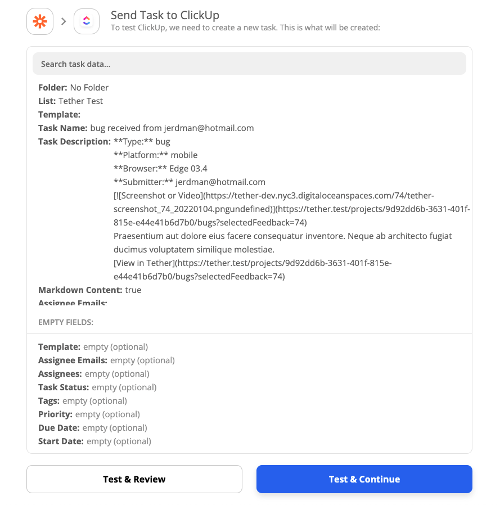
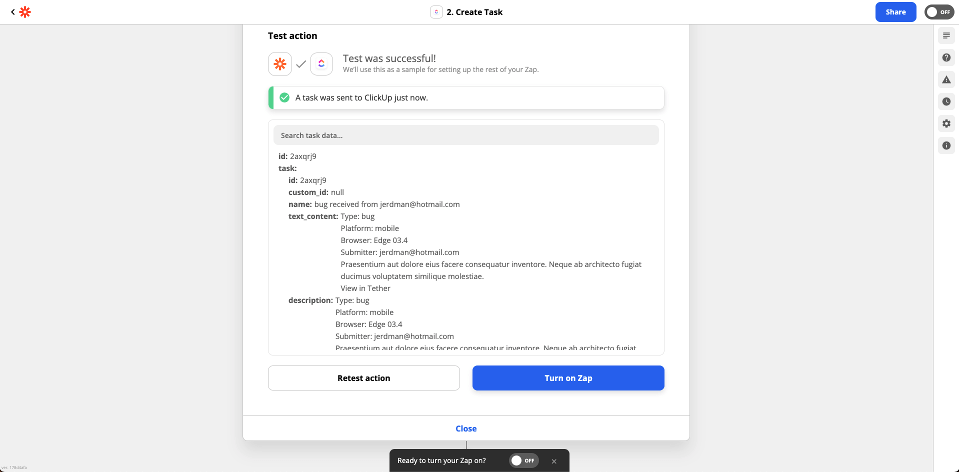
Click the "Test & Continue" button and ensure that a new task was created in the ClickUp workspace you selected.

- If everything looks good, let's finish this Zap by clicking "Turn on Zap" or toggling the "On / Off" switch in the upper right corner.

Whew :sweat_smile: that was a lot of steps, great job following along! Now that your Zap is created, close the loop by submitting some new feedback, and watch with a satisfied smile as ClickUp tasks are automatically created :tada::tada::tada: