Jira Integration
Linking your project with Jira super-charges your productivity by delegating the process of creating new Jira issues for your feedback, and keeping those issues synchronized with Tether - leaving you with more time to focus on the problem itself.
Linking Your Jira Account
Prerequisites
Make sure you have a Jira account. You'll also want to have a Jira project ready to receive issues from Tether.
Linking Instructions
-
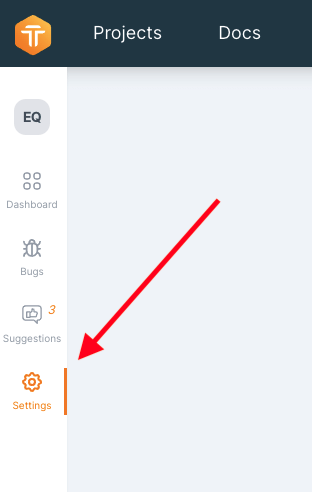
Visit your Tether project's settings page by clicking the gear icon from the sidebar of your project's dashboard.
-
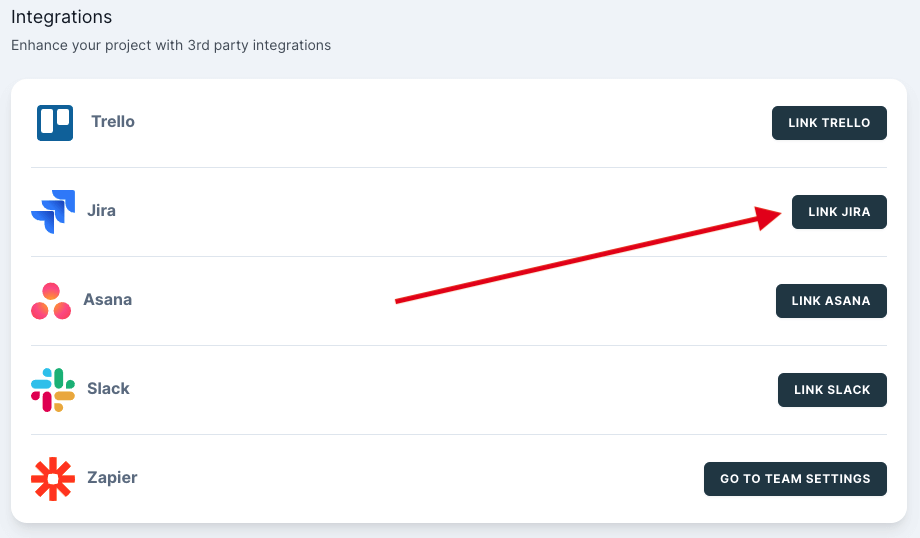
In the "Integrations" section, click the "Link Jira" button.
-
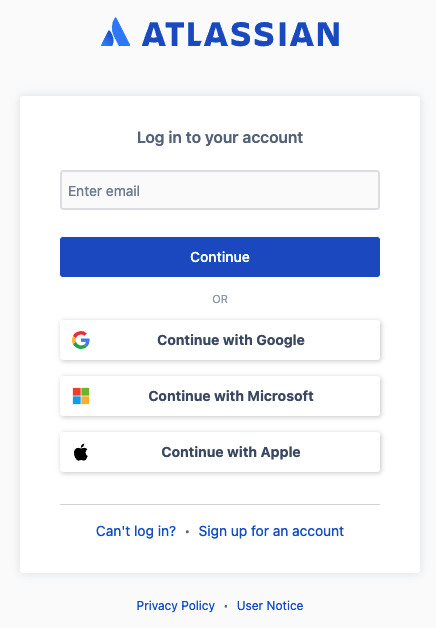
Login to your Jira account when prompted.
-
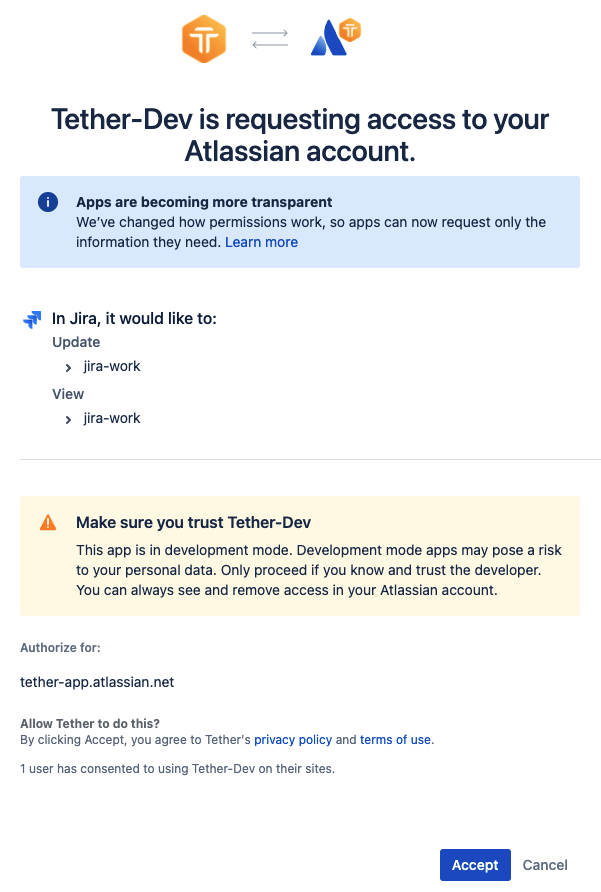
When asked to allow Tether access to your Jira account, click "Accept". (Note: Tether has limited access to your account information, and is only used to create new issues for the project you've specified)
-
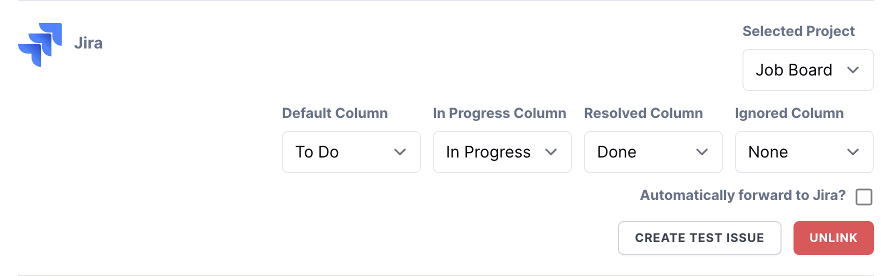
Once you're redirected back to project settings, use the dropdown to specify the project you want to link to.
-
(Optional) If you would like to enable 2-way sync between Tether and Jira, you may also choose to define Jira states associated with Tether's feedback statuses. Jira issues will be updated with your selected state values based upon the feedback's current Tether status, and vice-versa.
-
Verify everything is set up correctly by clicking the "Create Test Issue" button, and ensuring a new task was created in the Jira project you specified.
-
You are now fully linked to your Jira account, and are ready to receive feedback! One last thing though! Be sure the "Automatically forward to Jira" checkbox is checked if you'd like Jira issues to be created for feedback as soon as it's received.